This KB article is a work in progress 😉
Statamic makes it very easy to manage your images and assets like files and downloads.
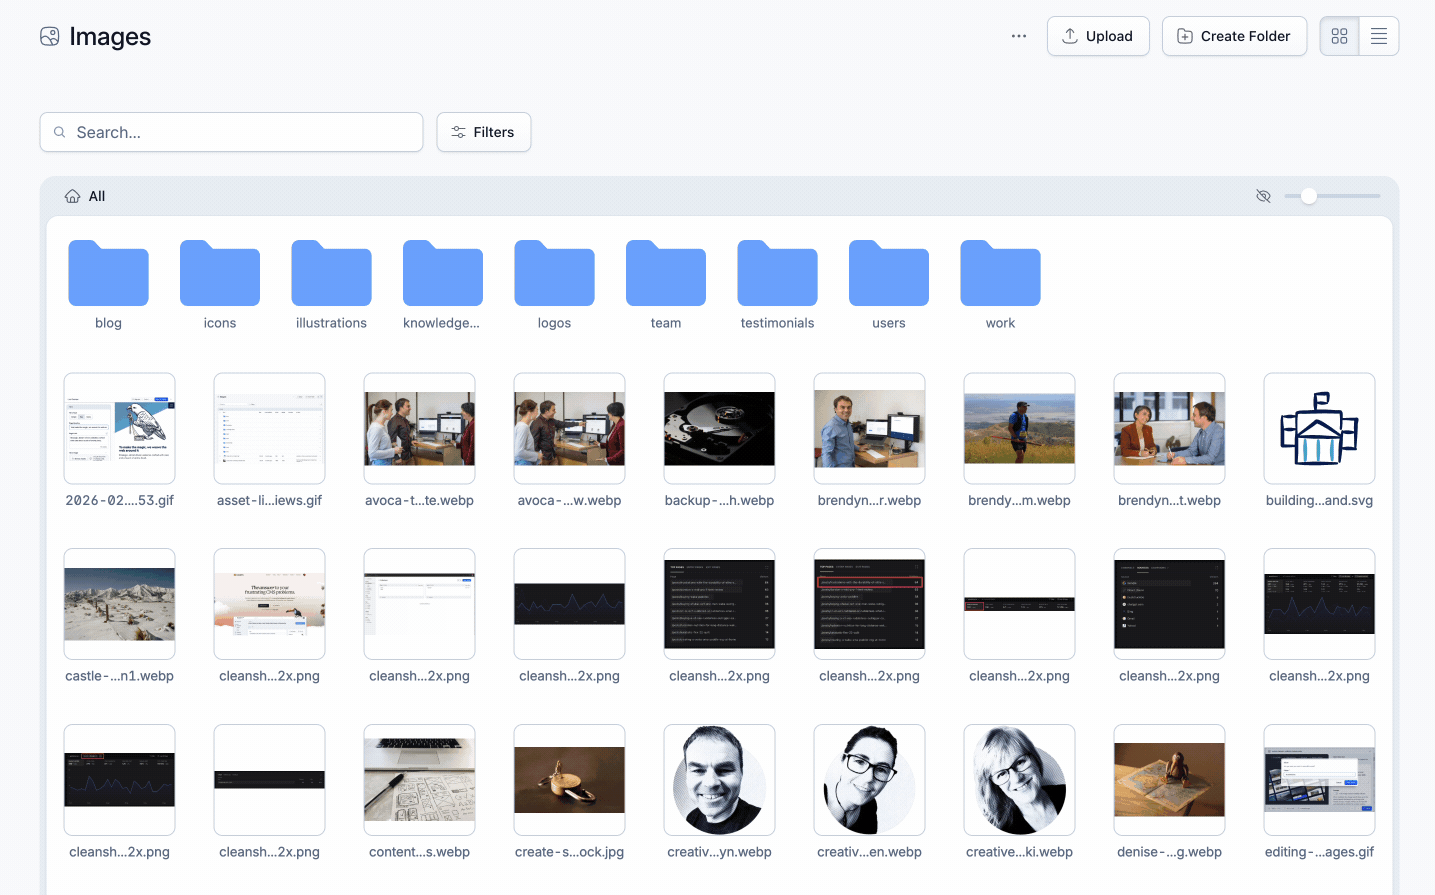
When we setup your site we create two main areas (containers) for your files that you can access from the “assets” item in your Statamic menu
Images
Files
Images is where you should store all the images you upload for your site. Files is where you should store files like PDFs that you’d like to link to in your content.
Statamic gives you the ability to group these files and images in these containers into folders to help you keep them organised. You can also search the whole container on file name.
Easy controls
Double click on an asset or image to see it’s properties. Right click on an item to access common actions.
You can bulk select items
Different views
Statamic 6 adds the ability see the images in gallery or list view. When you use gallery view you can resize the thumbnails you see to help you quickly spot the image you are looking for.
List view is great for searching or filtering the images based on different criteria.
Bear in mind that the list you are seeing could be paginated.
Organising your content in folders
Setting Alt text
Renaming images
Replacing images
Setting a focal point to keep the key parts of images visible
Often the interesting part of an image is not right in the centre of the image. Modern web design requires that we often resize or recrop images for different screen sizes. That means that if you have a person’s face or some other feature that you’d like to always be visible you need a way to mark that part of the image to tell Statamic to try to keep that in the frame for the visitor.
Statamic provides a very easy to use “focal point” control that lets you do just that.
Edit your image by clicking on the image in your content or going to assets → images and clicking on the image you want to adjust
Click the “focal point” option
Set the focal point in the top left
Check the various image preview sizes to see how that focal point could effect various image cropping ratios
Click “finish” to save your focal point setting
